
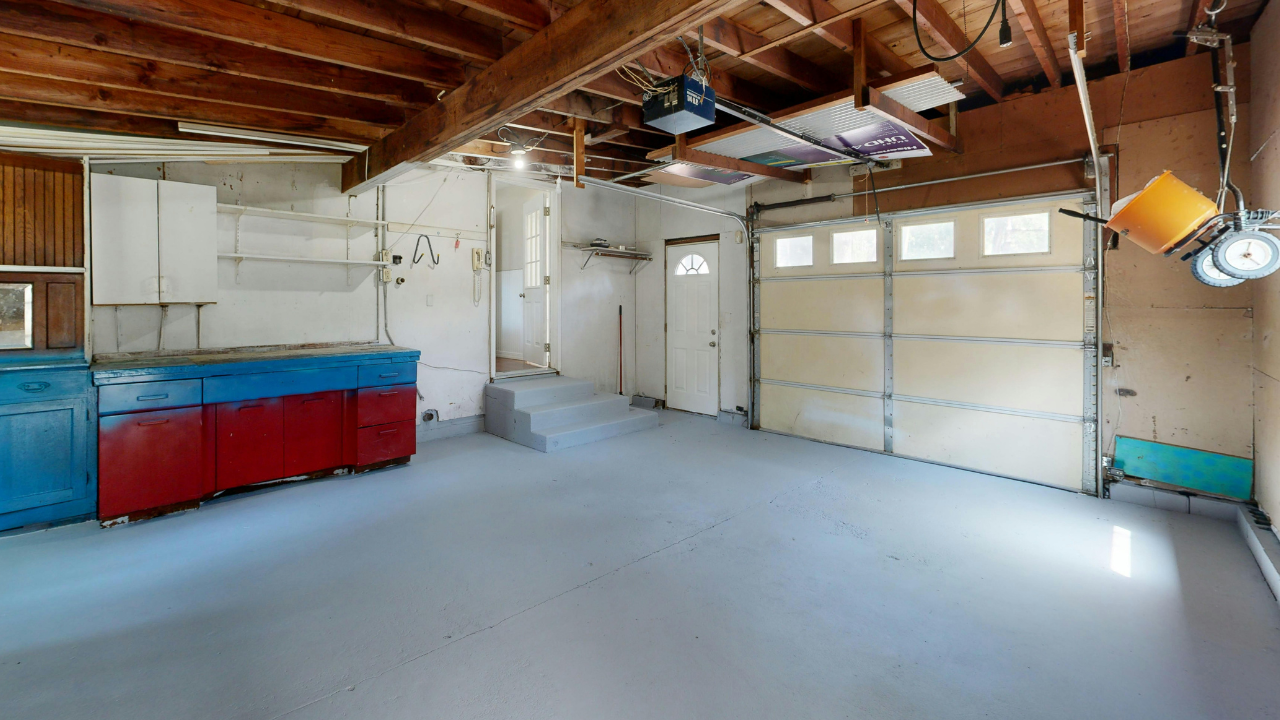
There’s a reason most home golf simulators end up in the garage.
It’s usually the only space in the house that gives you enough room to swing comfortably, control your setup, and build something that actually feels like a dedicated practice area.
But here’s the part most people don’t realize right away — a golf simulator isn’t one piece of equipment. It’s a system. And if you don’t plan it properly from the start, you can end up with a setup that feels cramped, inaccurate, or just frustrating to use.
This guide walks through how to build a garage golf simulator step-by-step, so you can get it right the first time.
Step 1: Plan Your Space First (Before You Buy Anything)
This is where most mistakes happen.
Before you even look at products, you need to understand what your garage can realistically support.
The three things that matter most:
Ceiling height
You’ll want around 9–10 feet for a comfortable full swing with a driver. Some people can make 8.5 feet work, but it often feels restricted.
Depth (front to back)
You need enough space for:
-
The hitting area
-
Ball flight (even a few feet matters)
-
Distance to the screen or net
A typical setup needs around 12–18 feet of depth.
Width
Ideally 10–12 feet so you’re not swinging into walls or feeling boxed in.
Quick tip: actually take a club into your garage and do a full swing test. It tells you more than measurements on paper ever will.
Step 2: Decide What Kind of Setup You Want
Not every simulator needs to be a full luxury build.
Think in terms of how you plan to use it:
-
Casual practice a few times a week
-
Serious game improvement and data tracking
-
Full simulator experience with virtual courses
That decision will guide everything else.
For example:
A setup built around something like the [FlightScope Mevo+ Gen 2 Home Golf Simulator Bundle](https://indoorgolfcaves.com/listings/flightscope-mevo-gen-2-home-golf-simulator-bundle/) gives you a strong balance of data and simulation without going fully high-end.
On the more budget-friendly side, something like the Garmin Approach R10 is often used for simpler setups where space and cost are tighter.
This is also where you’ll eventually decide if you want:
-
A full enclosure system
-
A simpler net setup
-
Or something in between
(You can leave room here to add enclosure listings later.)
Step 3: Choose the Right Launch Monitor
Your launch monitor is the core of the entire system.
Everything else supports it.
There are two main types:
Radar-based systems
-
Sit behind the golfer
-
Track the ball in flight
-
Usually need more depth
Camera-based systems
-
Sit beside or in front
-
Capture impact data
-
Often better for tighter indoor spaces
If your garage has more depth, radar systems like the Mevo+ work really well.
If space is tighter, this is where a system like SkyTrak becomes a strong option since it’s designed specifically for indoor use.
The key is matching the tech to your space — not just your budget.
Step 4: Don’t Overlook the Hitting Mat
This is one of the most underestimated parts of a setup.
A bad mat doesn’t just feel off — it can actually lead to wrist and elbow pain over time.
A quality option like the SIGPRO 4' x 7' Golf Mat gives you a more realistic strike feel and better long-term comfort.
What you’re looking for:
-
Some level of shock absorption
-
Realistic turf interaction
-
Enough size to stand and swing comfortably
It’s not the most exciting purchase, but it’s one of the most important.
Step 5: Screen vs Net (What Experience Do You Want?)
This decision shapes how your simulator feels.
Impact Screen Setup
-
Lets you project courses and visuals
-
Creates a true simulator experience
-
Requires more setup and alignment
A product like the Indoor Golf Premium Golf Simulator Screen is designed for this type of build.
Net Setup
-
Easier and cheaper
-
Great for practice
-
No full visual experience
Neither is “better” — it just depends on whether you want immersion or simplicity.
Step 6: Add Software and Visual Setup
This is where your simulator comes to life.
Most setups include:
-
Simulator software
-
A display (projector or screen)
Software controls things like:
-
Virtual courses
-
Driving ranges
-
Shot data tracking
-
Practice modes
You’ll want to make sure whatever software you choose is compatible with your launch monitor.
(This is a good place for you to later plug in your software listings and comparisons.)
Step 7: Handle Garage-Specific Challenges
Garages are great for space — but they come with trade-offs.
Temperature
-
Cold in winter, hot in summer
-
You may need a heater or fan depending on your climate
Lighting
-
Too much light can wash out projections
-
Too little can affect camera-based systems
Flooring
-
Concrete isn’t ideal for long sessions
-
Adding turf or padding makes a big difference
You don’t need a perfect environment — just something consistent and comfortable enough to use regularly.
Step 8: Installation and Setup Tips
This is where everything comes together.
A few things that matter more than people expect:
-
Proper alignment between mat, screen, and launch monitor
-
Enough distance between ball and screen
-
Secure mounting for screens or nets
-
Making sure nothing moves during use
Even small misalignments can affect accuracy or feel.
Take your time here — this is what makes the setup actually work.
Common Mistakes to Avoid
Most issues come from rushing decisions early.
Here are the big ones:
-
Not measuring space properly
-
Choosing a launch monitor that doesn’t fit the room
-
Buying components that don’t work together
-
Going too cheap on the mat
-
Ignoring lighting and setup alignment
Fixing these later is always more expensive than getting them right upfront.
What Does a Garage Golf Simulator Cost?
This can vary a lot, but a rough breakdown looks like this:
Entry-level
-
Basic launch monitor
-
Net setup
-
Minimal accessories
Mid-range
-
Better launch monitor
-
Impact screen
-
Software integration
High-end
-
Full enclosure
-
Premium launch monitor
-
Projector + immersive setup
The important thing isn’t the number — it’s making sure the pieces actually work together.
Final Thoughts
Building a golf simulator in your garage isn’t about having the most expensive setup.
It’s about building something you’ll actually use.
A setup that fits your space, matches your goals, and feels good to practice in will always outperform something more expensive that wasn’t planned properly.
If you take the time to think through each step — space, equipment, and setup — you’ll end up with something that genuinely improves your game, not just something that looks good on paper.